This tutorial was originally
posted on loreleiweb.com but due to technical reasons moved to
pswish.com. The tutorial remains a copyright property of Lorelei (me!)
The requests for Fantasy Art tutorials are enormous, I still get
emails and Pms from people asking to do more Fantasy Art tuts, so here
is one more, called “Plasma” (Star, not the TV!) which I hope you’d
enjoy.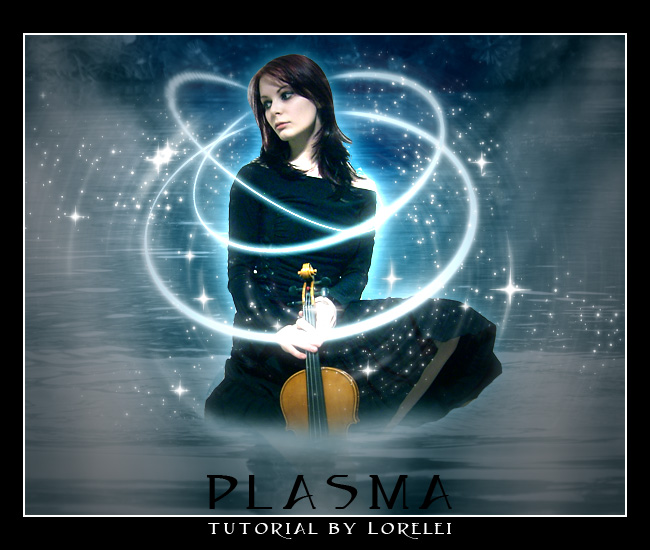
1. Make a new canvas, we used 600*480 px here, but the size is of course optional.

2. Select the Gradient Tool, using two shades of blue (see below), fill your canvas, so that the darker colour will be on top.


3. Take a photo of a girl. Traditionally I am using Becca‘s photo from her Deviant Art account, but you can replace her with any semi-sitting figure of your choice. Crop the figure and paste her unto your canvas. In needed, resize her so that she will fit in.
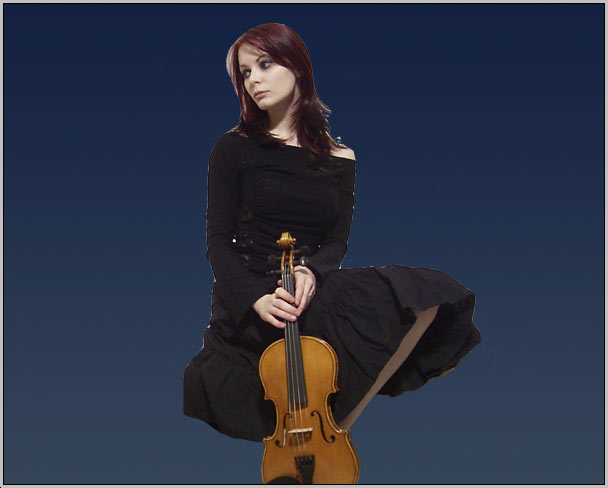
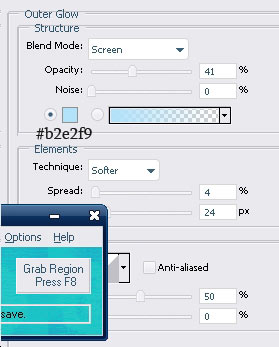
4. To get rid of the visible crappy cropping, and to give the girl more emphasis, add blueish glow to her by going to Layer >> Layer Styles >> Outer Glow and applying the following settings:
This is what you would get:

5. Make a new Layer. Make sure your primarily and secondary colours are black and white. Go to Filter >> Render >> Clouds
Pages: 1 2 3
Title : Fantasy Art Photopshop Tutorial – Plasma in the Lake
Description : This tutorial was originally posted on loreleiweb.com but due to technical reasons moved to pswish.com. The tutorial remains a cop...
Description : This tutorial was originally posted on loreleiweb.com but due to technical reasons moved to pswish.com. The tutorial remains a cop...
0 Response to "Fantasy Art Photopshop Tutorial – Plasma in the Lake"
Posting Komentar